Whether you’re in an emergency, can’t afford to take your car for maintenance or just want to learn some car hacks, it is extremely easy to change car oil by yourself. You don’t need a lot of tools or expert supervision, just follow the steps mentioned in this article and good to go. However, we recommend that you be very careful when performing this procedure. And take care not to tamper with things you don’t know about, lest you end up doing more damage than good. In case of any queries regarding engine oil change, contact us for a free consultation.
Why Should You DIY Oil Change of Your Car
There could be many reasons you want to change the oil in your car yourself. For example, you’re too busy to take your car to an auto shop or it’s long overdue. Or you might simply love cars and interested in learning all about it. This is especially true for people who want to pursue a career in car mechanics. Nonetheless, learning how to change car oil comes in handy, especially if you are living in your car on the road.
There are multiple benefits to changing car oil yourself, such as:
- It saves you a lot of money
- Makes you learn about your vehicle and connect to it
- Saves you the trouble of going for car maintenance every month
- It comes in handy during emergencies
How Much Time Does it Take to Change the Oil?
Changing the oil of a vehicle might be daunting for some people, especially beginners. But, it is actually very easy and takes very little time. If you follow this article and have all the right tools, this task can be done in half an hour or less. Approximately, it can take anywhere between 15 to 45 minutes, depending on your level of expertise.
Materials Required to Perform an Engine Oil Change
Here is a list of all the materials you need how to change car oil on your own.
- Oil – $50 to $60 – recommended in your car owner’s manual
- Oil Filter – $10 to $15 – also mentioned in the car owner’s manual
- Panto drain oil – $7 to $8 – easily available in automotive shops
- Everyday use wrench and an oil filter wrench – $11 to $15 – to remove the drain plug and old oil filter
- Funnel (optional) – $2 to $5 – to direct the flow of oil drain
- Latex Gloves – $2 to $3 – to protect your skin from damage
- Jack stands or ramp – to elevate your car – costs about $25 to $80, but you can rent it for a cheaper price
Step By Step Procedure

Once you’ve gathered all the materials, it’s time to get started with the actual process!
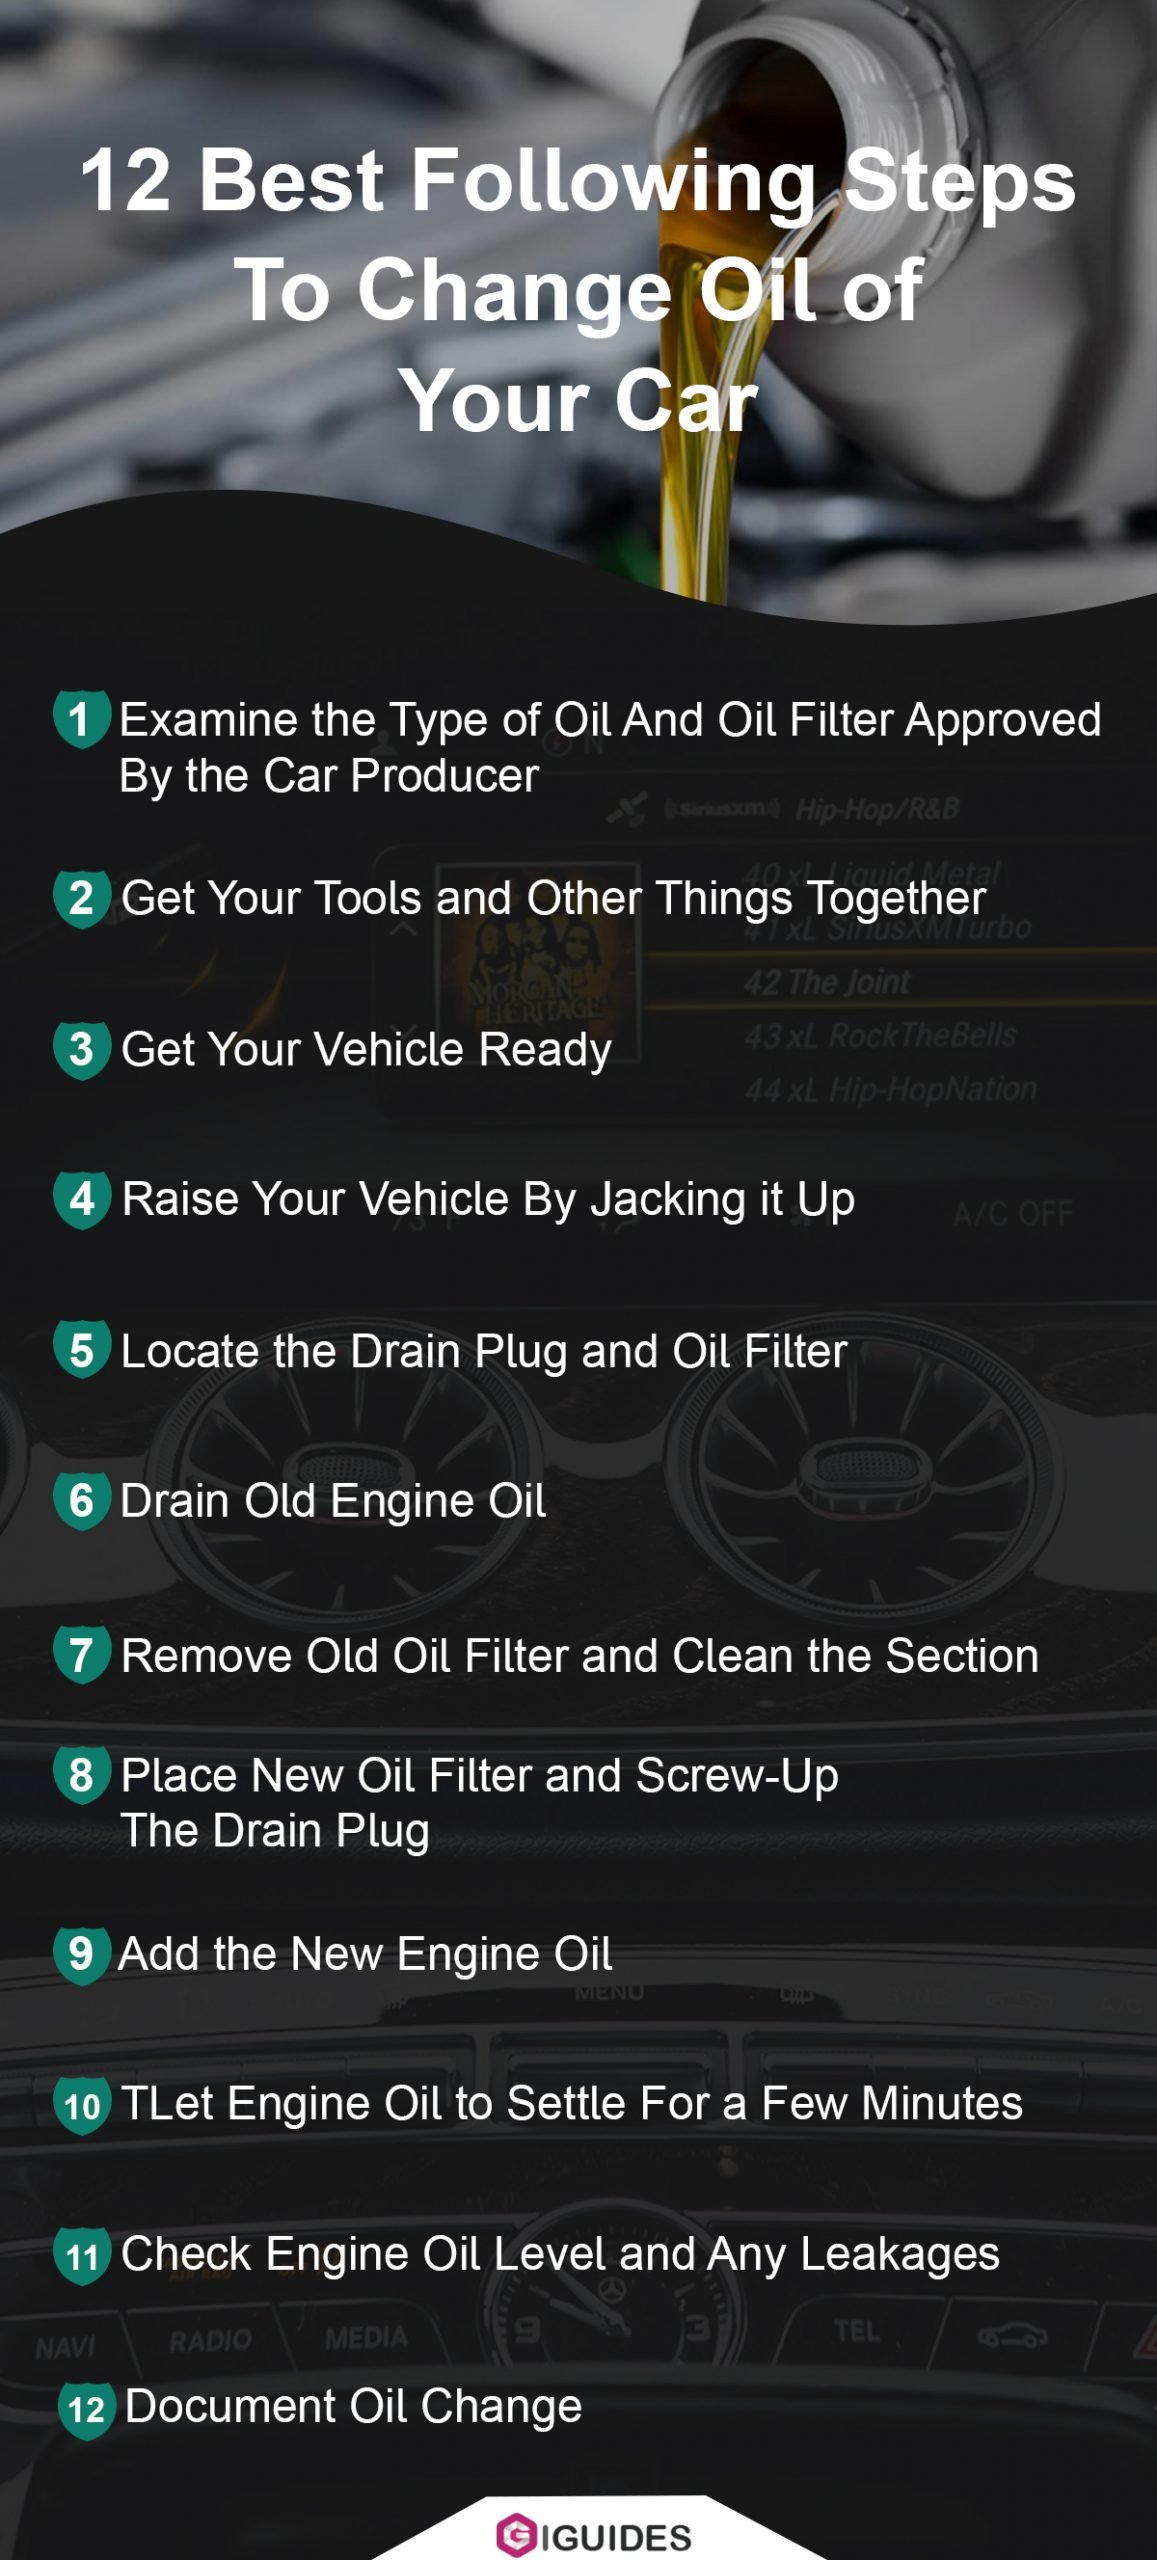
1. Examine the Type of Oil And Oil Filter Approved By the Car Producer
Before purchasing your materials, you need to ensure that they are compatible with your car. For this purpose, read your car owner’s manual and follow the instructions provided there. However, keep in mind that those instructions are very general and might not fulfill your specific needs. For example, if you live in an area hotter or colder than average, your car will require a different type of oil and oil filter. Make sure to contact us and get a free consultation on this matter.
2. Get Your Tools and Other Things Together
Once you’ve read your car owner’s manual and made sure you know exactly which tools to buy, it’s time to hit the market. If you’re unsure about which materials you need, consider asking a mechanic to get expert advice. It is necessary that you have all the materials required to change the oil before you jack up your car. Buy the things mentioned on the list earlier. They’d re easily available on any automotive shop and supermarket.
3. Get Your Vehicle Ready
Never change oil with a vehicle turned on. Make sure it is turned off and cooled before you start working. Look for leaks, if there aren’t any, then you’re good to go. However, if you locate a leak anywhere in the engine, then you should call a mechanic and get it fixed properly.
4. Raise Your Vehicle By Jacking it Up
Use a jack stand to raise your car above the ground. Keep in mind to never get under a car elevated only by a jack. Make sure to place bricks on the back tires to prevent the car from rolling away. Raise the car well enough to give you plenty of space to work comfortably. Before going under the car, ensure that it is completely secured otherwise it can result in accidents.
5. Locate the Drain Plug and Oil Filter
Most cars have a plastic cover on the underside of the car to protect the engine from damage and improve aerodynamics. You need to remove this cover to access the drain plug and oil filter. In order to unplug the bolts and screws that hold the plastic cover as well as the drain plug together, use a suitable screwdriver or a wrench.
6. Drain Old Engine Oil
Place the to drain the old oil right underneath the plug or adjust it to a position to keep it from spilling everywhere. You need to be very careful in this step as the old oil will start pouring out as soon as you loosen the plug. Your pan needs to be large enough to hold at least a gallon of old oil as this is the amount most vehicles retain in them. If a pan doesn’t suit you or you don’t want any spilling, go for a wide mouth container instead.
7. Remove Old Oil Filter and Clean the Section
After the oil has stopped trickling out, it’s time to clean the section. Remove the old oil filter using a screwdriver or a wrench. The oil filter resembles a cylinder in shape. Make sure to keep a cloth or towel in hand because it will drip some oil as you unplug it. Once you’ve removed it, wipe the surfaces with a clean towel to get rid of any remaining oil. You don’t need any cleaning solutions for this.
Pro Tip: Do not forget to remove the oil filter gasket along with the oil filter as well. It’s a thin rubber ring that makes sure the oil filter is plugged properly and prevents oil leakage. Your new oil filter already has an oil gasket.
8. Place New Oil Filter and Screw-Up the Drain Plug
Once everything is considerably clean, plug the new oil filter in its place. You don’t require any hand tools to tighten it like you did when unfastening it. Because wrenches can tighten it too much, obstructing its function and harming the engine. Tighten it with your hands until it’s snugly fit. Take a little oil on your finger and rub it on the oil gasket of the new plug to perfectly seal it in. In the same way, replace the drain plug as well and cover it with the plastic plate.
9. Add the New Engine Oil
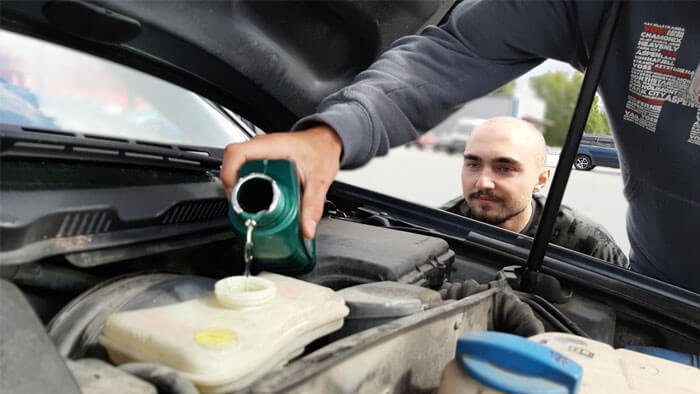
Make sure everything is plugged in before lowering your car back to the ground. Open up the engine and locate the oil can. It usually has a symbol of oil can on the cap. Unscrew it and pour in the new oil. Use a funnel if you fear the oil spilling over.
10. Let Engine Oil to Settle For a Few Minutes
After adding the oil, wait for a few minutes to let the oil settle. Usually, 5 to 10 minutes is enough. After some time has passed, turn the engine on and let it run for a while. This ensures that the new oil is reaching all parts of the engine properly and working well.
11. Check Engine Oil Level and Any Leakages
Before you start the engine and look for leaks, it is important to check the oil engine level. However, you can perform this step after starting the engine too. Locate the oil pan in the engine and take out the dipstick. Clean the dipstick with a towel or clean clothes before placing it back inside. Take it out again and see if the oil levels are accurate. If they are not, pour in more oil to adjust it.
When you start the engine, you need to check for oil leakages as well. See below the engine if any oil has leaked. If there isn’t any, then you’re done. But if there is leakage, then you need to turn off the vehicle, wait for it to cool and locate the point of the leak. Unplug the plastic cover again and use a wrench to plug everything more securely.
12. Document Oil Change
One thing that most DIY-ers neglect is documenting their oil change. It is very important to do this if you’re planning on changing the oil of your car in the future as well. Take a regular notebook and write down when you performed the latest oil change, how much old oil you removed and how much new engine oil you added. This will come in handy when your vehicle needs maintenance or if it has any major issue. Contact us today for more advice and tutorials.

